Self-hosting
Running an Instance of the Onboardbase Platform on Your Servers
You can host the Onboardbase platform on your servers. You can do this with our obbctl tool.
After following the installation guide on the obbctl homepage, you can begin to set up Onboardbase for self-hosting.
Prerequisite
- Docker setup and running on the server
- Service token to an Onboardbase organization that has the necessary environment variables
- A Selfhost Key, you can request for a key by sending an email to [email protected]
Setting up the environments
The Onboardbase platform has both a frontend and a backend, and both of them require some environment variables to run. You will have to supply these environment variables to run the platform.
You must create two Onboardbase projects on our platform to set up the environments needed. Each for the frontend and backend.
Setting up the Backend Environment
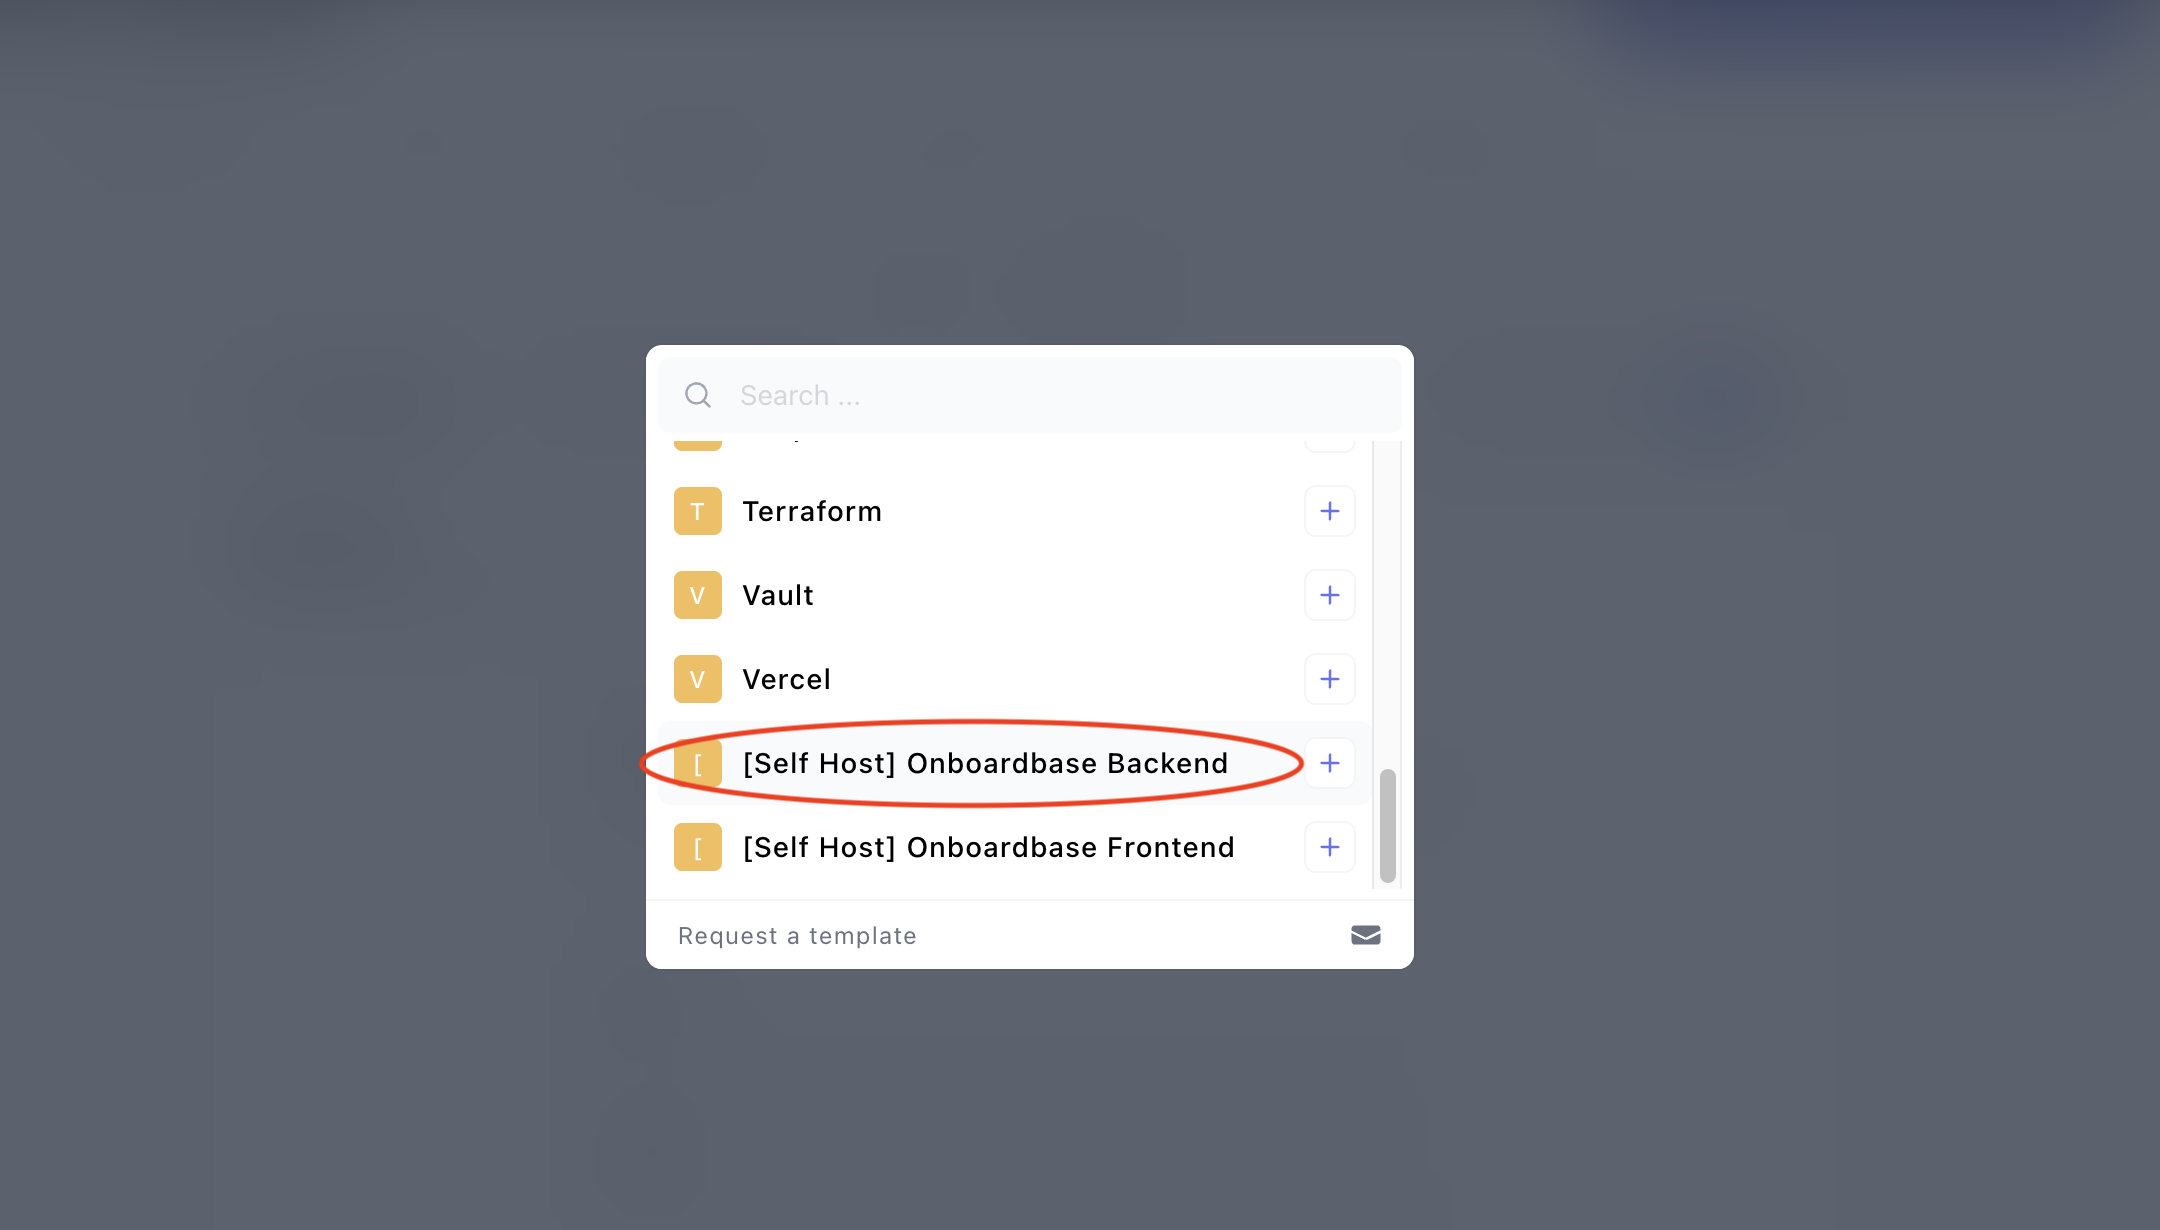
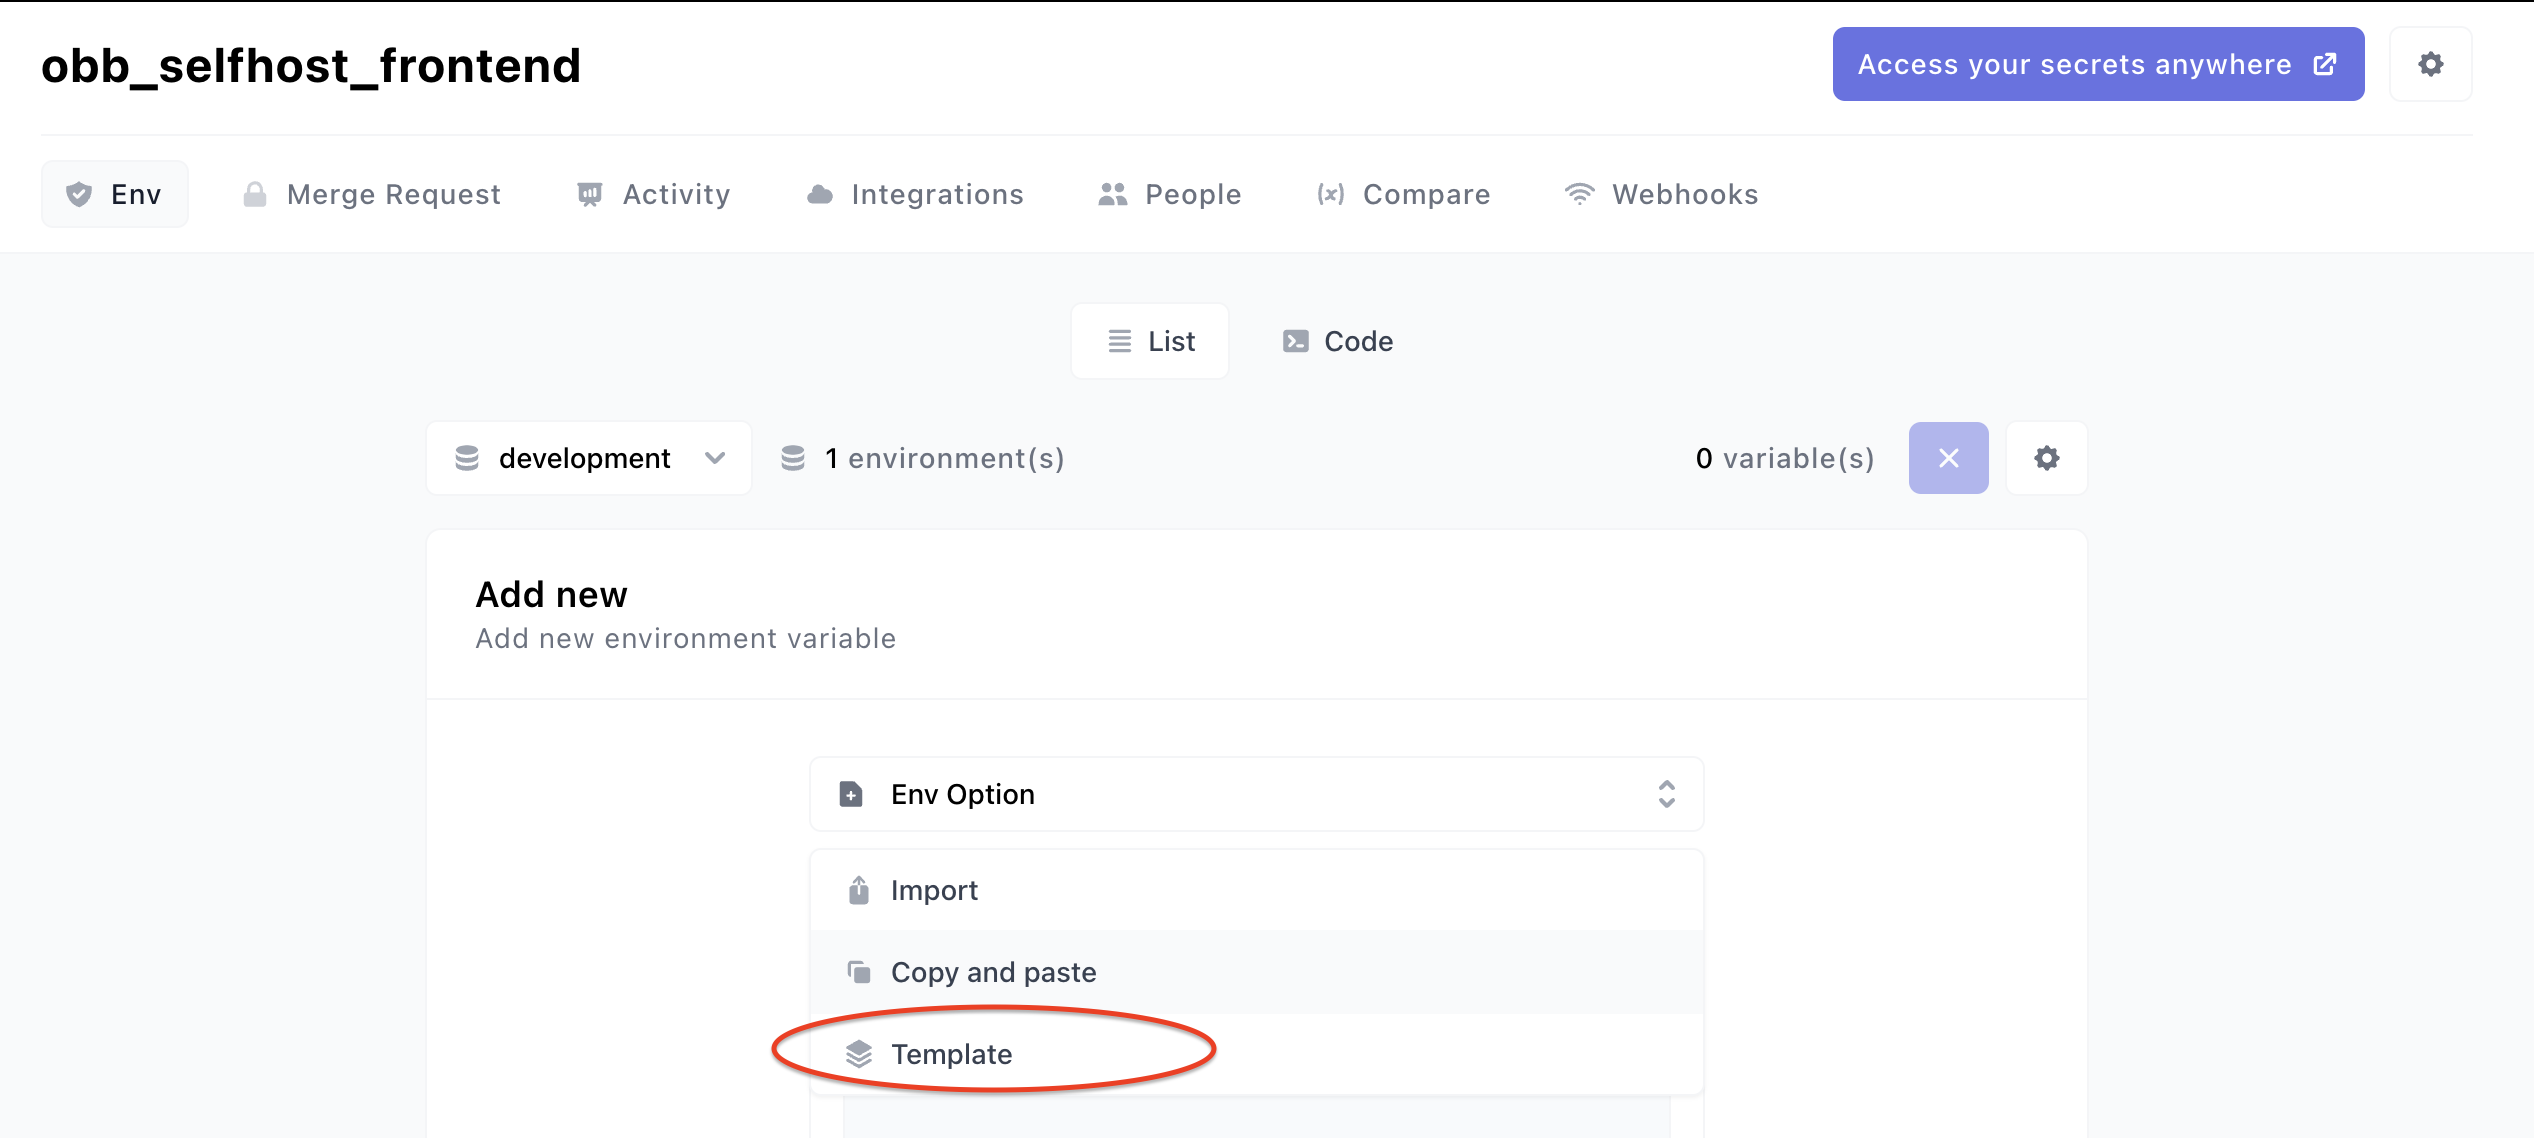
After creating the project, you are presented with a view to add environment variables. Click on Env Option to see a drop-down of options and select Template

From the template modal, select [Self Host] Onboardbase Backend:
This will pre-populate the keys needed to set up the backend environment. You will have to provide values for those keys. After providing the values, save the changes.
The backend is a GraphQL server.
Setting up the Frontend environment
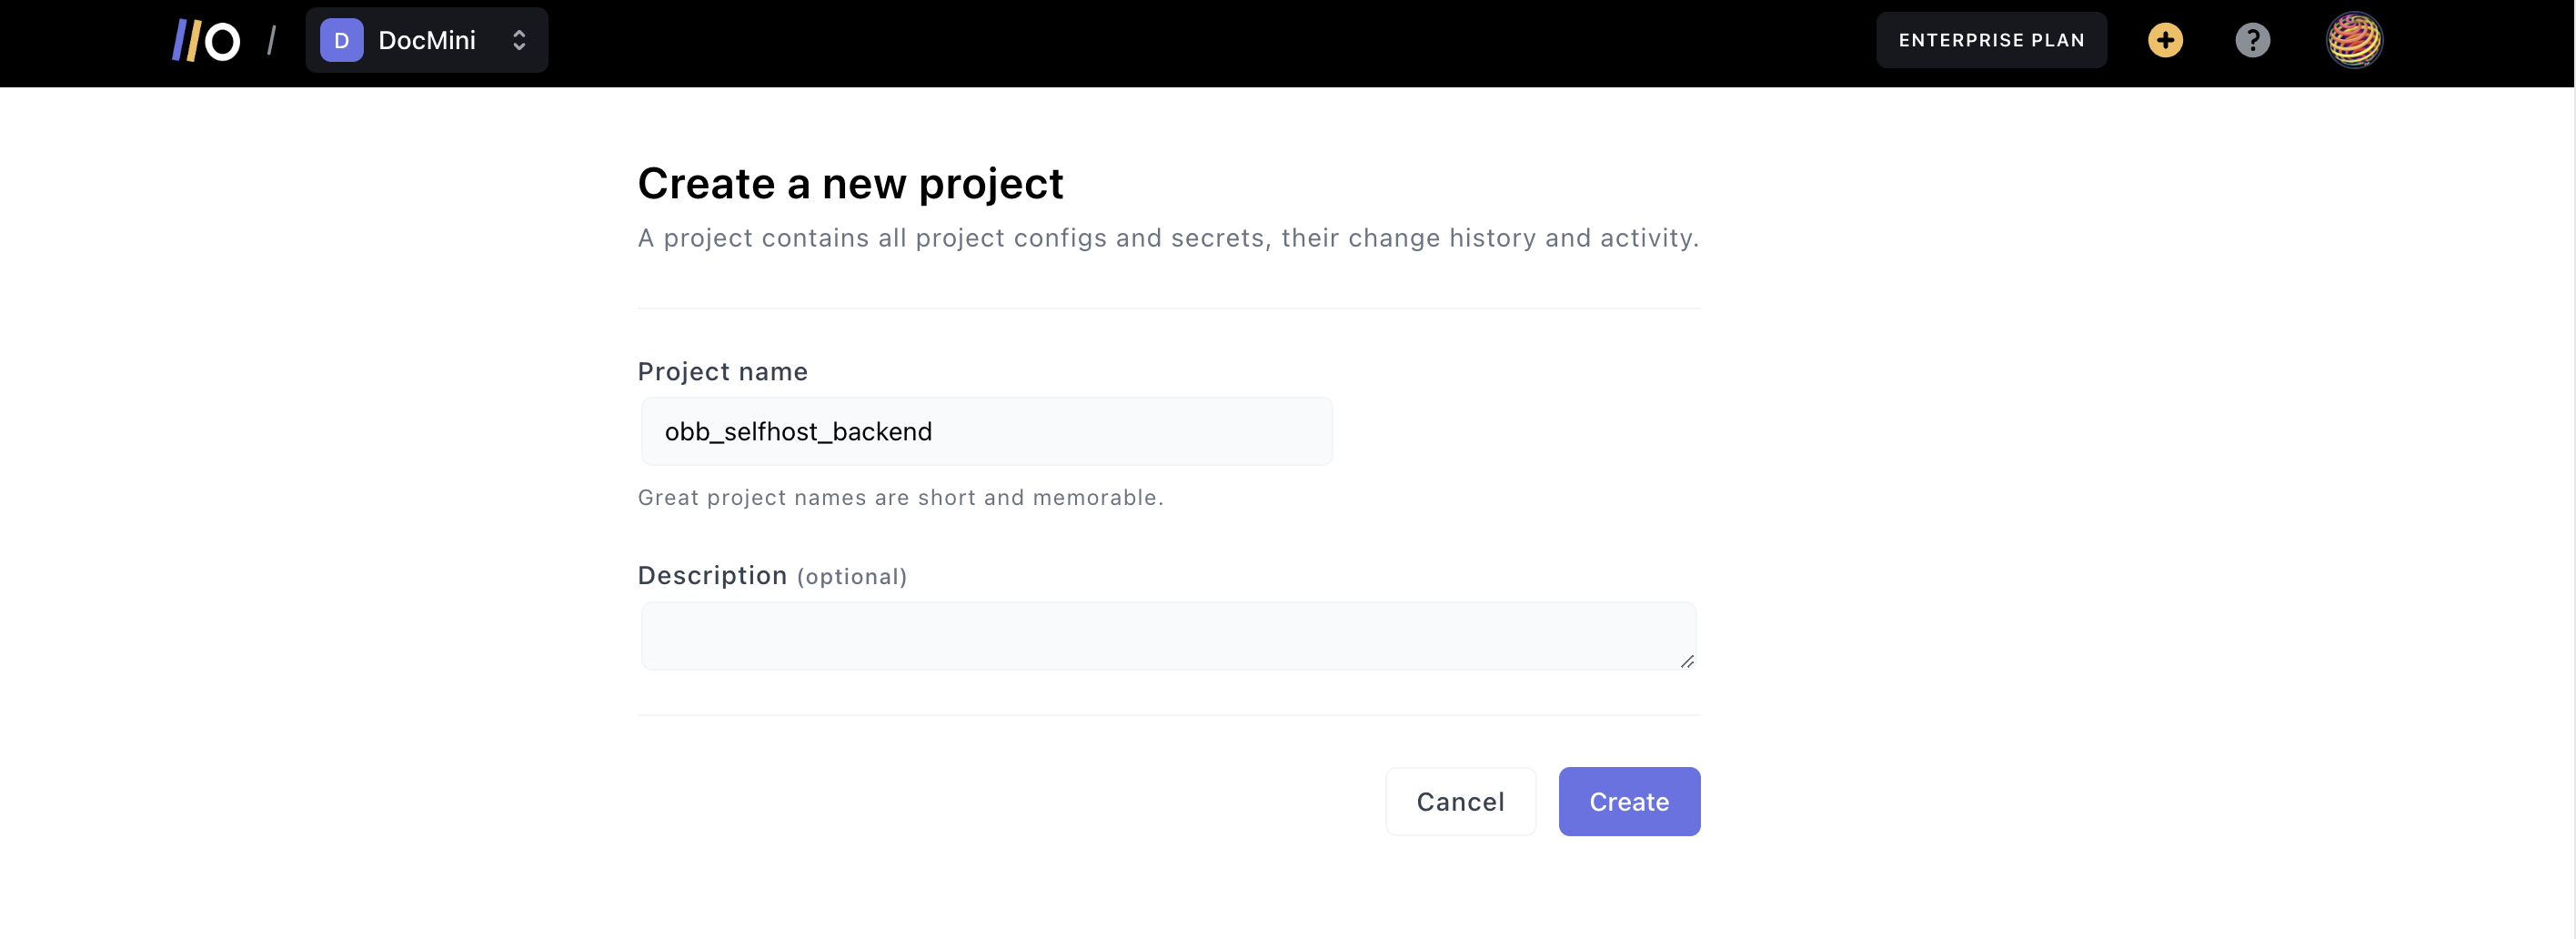
You will need to create a new Onboardbase project for the frontend. We call it obb_selfhost_frontend, you can give it your preferred name.
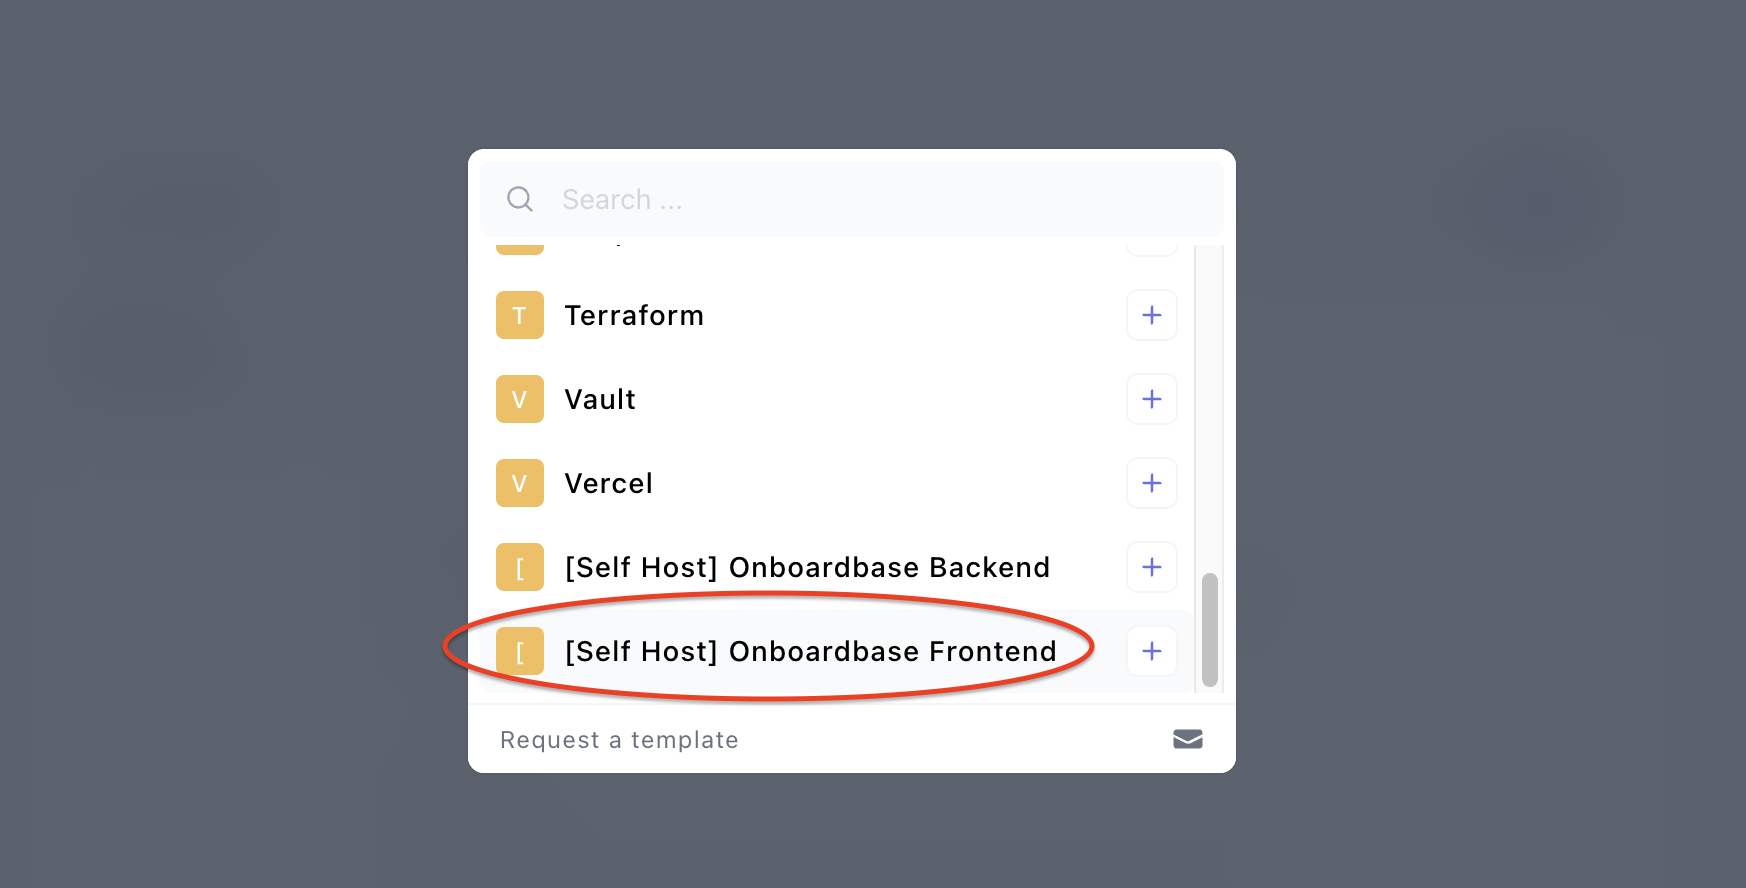
Select Template from the Env Option drop down as we did earlier:
This time around, we will be selecting the [Self Host]: Onboardbase Frontend template:
This will also pre-populate the keys needed for the frontend environment, the VUE_APP_API_SERVER should point to the URL the backend will be deployed to e.g https://server.com/graphql.
After providing the values, save the changes.
Getting a Service Token
The next step is to generate a Service Token that will grant access to the projects we created.
Click on your profile Avatar at the top right, and from the drop-down select Manage your organization:

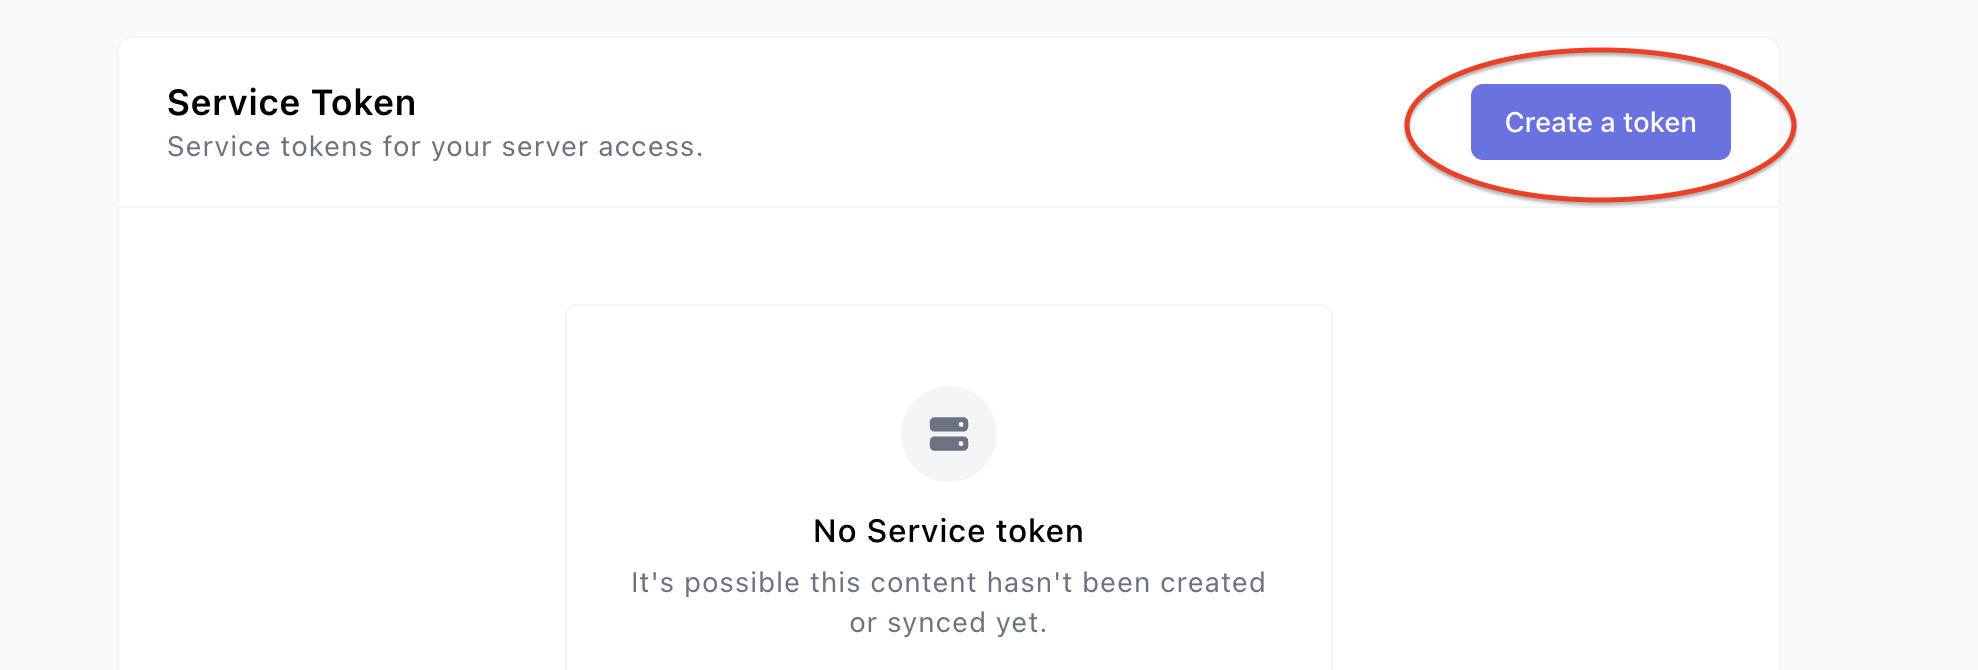
On the settings page, scroll down to Service Token section and click on Create a token:
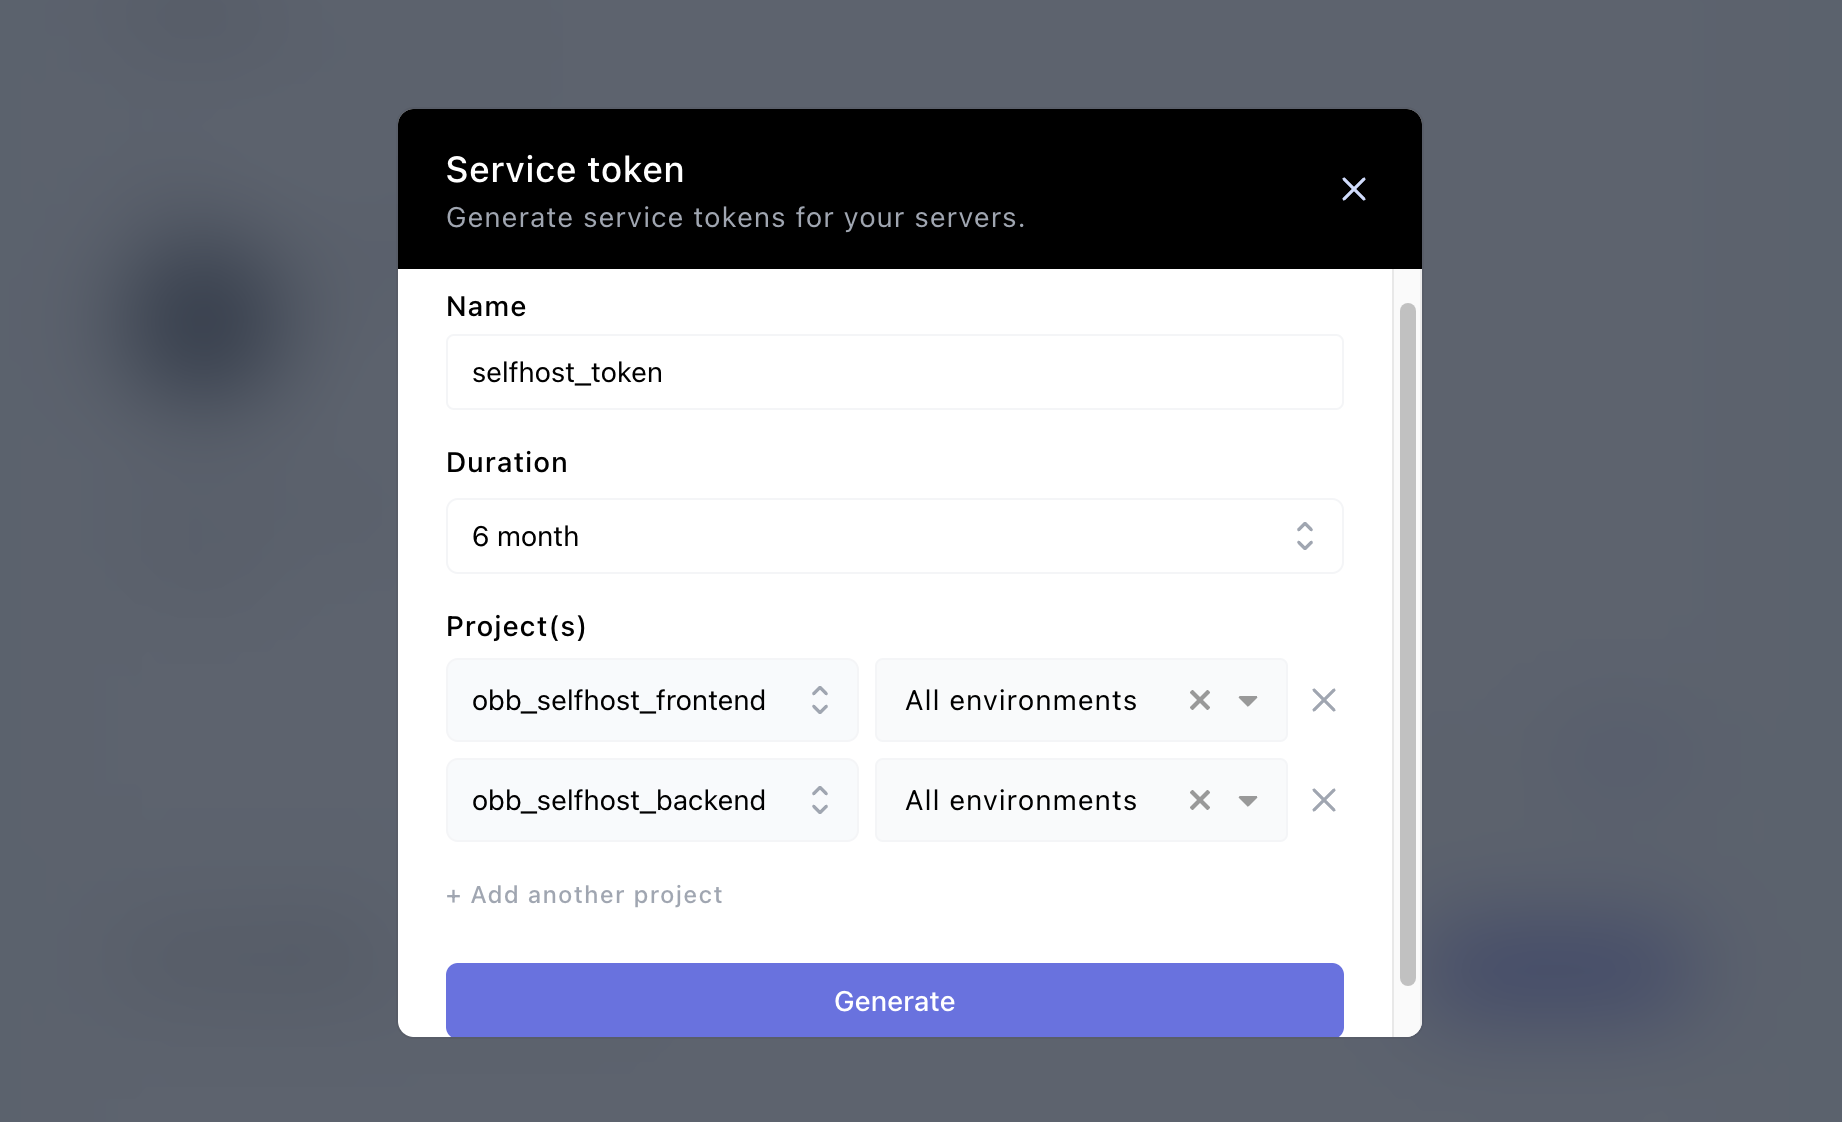
On the modal to create a Service Token, supply the values similar to the ones below. It is important that the Service Token has access to the two projects we created earlier:
After generating the Service Token, copy it to your clipboard.
Using docker-compose
After configuring your secrets on Onboardbase for the backend and frontend, you can use this docker-compose file to set up.
version: "3"
services:
    backend:
        image: onboardbase/backend:latest
        volumes: []
        ports:
            - 3000:3000
        networks:
            - app
        env_file: .be.env
    api:
        image: onboardbase/public-api:latest
        volumes: []
        ports:
            - 3033:3033
        networks:
            - app
        env_file: .api.env
        depends_on:
            - redis
    db:
        image: postgres:latest
        volumes:
            - /Users/internalname/.onboardbase_ctl/postgres:/var/lib/postgresql
        ports:
            - 5432:5432
        networks:
            - app
        env_file: .db.env
    frontend:
        image: onboardbase/frontend:latest
        volumes: []
        ports:
            - 80:80
        networks:
            - app
        env_file: .fe.env
    redis:
        image: redis:latest
        volumes:
            - /Users/internalname/.onboardbase_ctl/redis:/data
        ports:
            - 6379:6379
        networks:
            - app
        env_file: .redis.env
networks:
    app: {}
We require some .env files for syncing with Onboardbase. So, you need to have a directory that contains:
.api.env, .be.env, .db.env, .fe.env, redis.env
REDIS_USER=redis
REDIS_PORT=6379
ONBOARDBASE_SELF_HOST_KEY=PcVVRc2
IS_SELF_HOSTED=true
ONBOARDBASE_TOKEN=Service....6e1
ONBOARDBASE_ENVIRONMENT=development
ONBOARDBASE_PROJECT=test-self-host
REDIS_HOST=redis
PUBLIC_API_KEY=iI83P72131231C8JRkfhm
NODE_ENV=development
REDIS_PORT=6379
JWT_SECRET_KEY=c2c2e419f9d0237b97b123123lokr4Fqbo00abfa5d46945
UPSTREAM_BACKEND=backend/graphql
DISPOSABLE_CHAT_FRONTEND=https://dev.disposablebase.com
ONBOARDBASE_SELF_HOST_KEY=PcVVRc2F
IS_SELF_HOSTED=true
ONBOARDBASE_TOKEN=Service....6e1ONBOARDBASE_SELF_HOST_KEY=PcVVRc2
ONBOARDBASE_TOKEN=Service....6e1
ONBOARDBASE_ENVIRONMENT=development
ONBOARDBASE_PROJECT=testing-self-hostingPOSTGRES_PASSWORD=postgres
POSTGRES_USER=postgres
POSTGRES_DB=onboardbase
POSTGRES_PORT=5432
TZ=America/New_York # This is important and need to be sync within ur server or device that runs the Backend's timezoneOnce all these are ready, you should run docker-compose up -d, and you enjoy self-hosting. To configure the CLI to use your endpoint CLI configs
Using obbctl
It is assumed that you have installed obbctl. After installing obbctl, ensure you have Docker running on the machine.
setup command
setup commandRun obbctl setup and you will get the following prompt:
>
> obbctl setup

⏳ Please enter your selfhost token.: ********************************************
⏳ Please enter your ONBOARDBASE_TOKEN.: *******************************************
⏳ Please enter your onboardbase frontend project name: obb_selfhost_frontend
⏳ Please enter an onboardbase frontend project environment for (obb_selfhost_frontend): development
⏳ Please enter your onboardbase backend project name: obb_selfhost_backend
✔ ⏳ Please enter an onboardbase backend project environment for (obb_selfhost_backend): development█
Make sure the information you are providing is correct. After successfully running the setup command, obbctl will configure your machine and pull the necessary docker images to run Onboardbase locally.
start command
start commandAfter setup, the next step is to run the obbctl start command. Before running this command, make sure the following ports are free and available:
- Port 5432 for the Database
- Port 6379
- Port 3000
- Port 80 for the frontend application
After running the start command, obbctl will start the frontend and backend applications. The frontend will be available on port 80 of the localhost of the machine. You can check the logs from the Docker containers being executed for progress (we are working on simplifying logs).
obbctl's journey ahead
We are dedicated to refining existing features, introducing enhancements, and ensuring a seamless user experience. Here are some updates we are working on:
- Configuration of ports: This will allow you to supply the ports obbctl should start the services with if you don't want to use the defaults listed earlier.
- Simplifying logs:
logscommand to output real-time updates from theobbctl startcommand. - Streamlining needed environment variables: This will reduce the number of environment variables needed to start the services.
We're eager to hear your feedback as we evolve. Thank you for being part of this journey with us, and If you have any queries or questions, please get in touch with us at [email protected].